
Introduction
Chocolate ice cream is one of those timeless desserts that never fails to delight. Smooth, deeply chocolatey, and luxuriously creamy, it is a treat that feels both nostalgic and indulgent. Making chocolate ice cream at home allows you to control the quality of ingredients and tailor the flavor exactly to your preference. I first tried this recipe on a warm afternoon when store-bought options felt overly sweet and artificial, and the difference was immediately noticeable. The homemade version had a purer cocoa flavor and a silkier texture that felt far more satisfying. This recipe is designed to be approachable, even if you are new to ice cream making. Whether served in a cone, a bowl, or alongside a warm dessert, this chocolate ice cream delivers a rich and comforting experience that feels special every time.
Print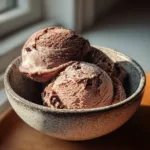
Homemade Chocolate Ice Cream Recipe – Rich, Creamy, and Foolproof
- Total Time: 6 hours 30 minutes
- Yield: 6 servings
- Diet: Vegetarian
Description
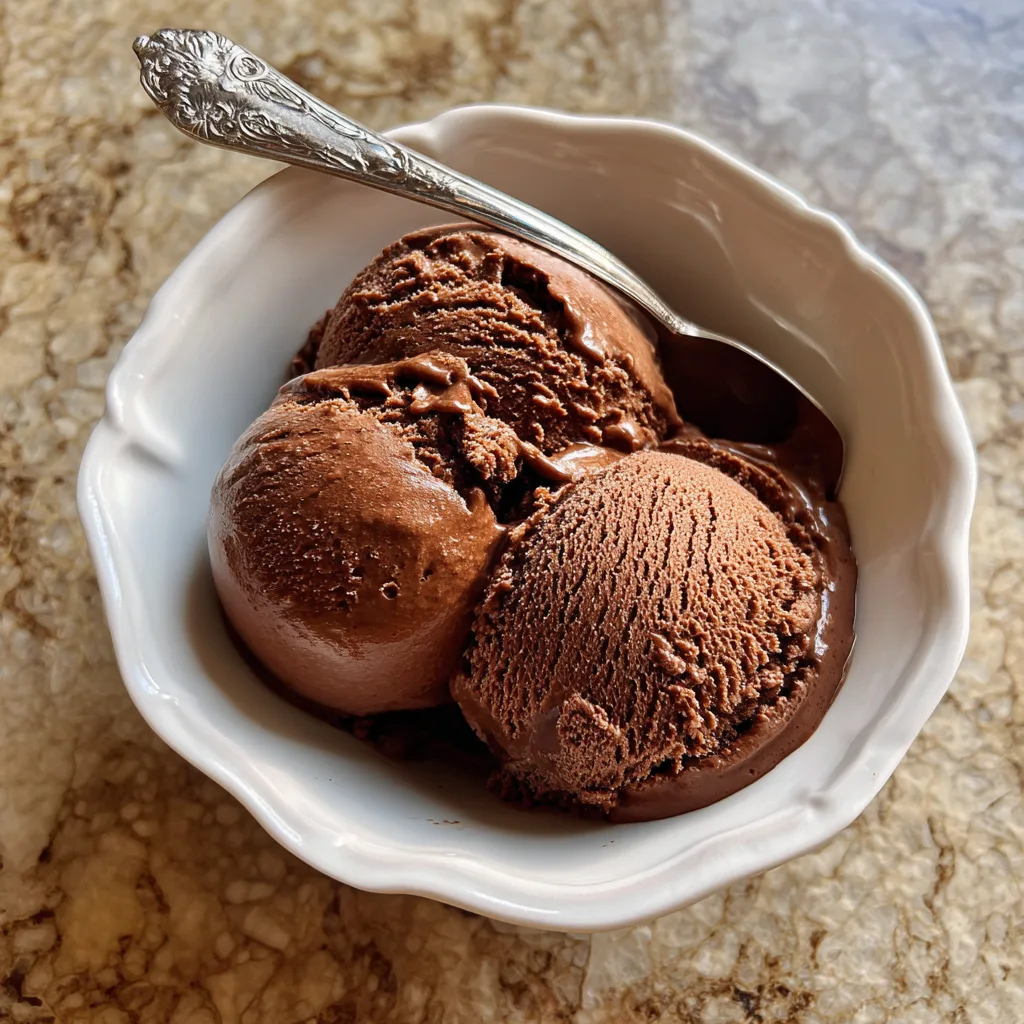
A rich and creamy homemade chocolate ice cream made with cocoa and cream, perfect for a classic frozen dessert.
Ingredients
- 2 cups heavy cream
- 1 cup whole milk
- 3/4 cup granulated sugar
- 1/2 cup unsweetened cocoa powder
- 4 large egg yolks
- 1 teaspoon vanilla extract
- 1/4 teaspoon salt
Instructions
- In a saucepan, whisk together the milk, cocoa powder, half of the sugar, and salt. Heat over medium heat until warm but not boiling.
- In a separate bowl, whisk egg yolks with the remaining sugar until pale.
- Slowly pour the warm milk mixture into the egg yolks while whisking continuously.
- Return the mixture to the saucepan and cook over low heat, stirring constantly, until it thickens slightly and coats the back of a spoon.
- Remove from heat and stir in the heavy cream and vanilla extract.
- Let the mixture cool completely, then refrigerate for at least 4 hours.
- Churn the chilled mixture in an ice cream maker according to the manufacturer’s instructions.
- Freeze for 2–3 hours until firm before serving.
Notes
- For extra richness, use Dutch-processed cocoa powder.
- You can add chocolate chips during the last few minutes of churning.
- Store in an airtight container to prevent ice crystals.
- Prep Time: 15 minutes
- Cook Time: 15 minutes
- Category: Dessert
- Method: Churning
- Cuisine: American
Why You’ll Love This Recipe
This recipe creates a smooth and creamy texture without being overly heavy. The chocolate flavor is deep and well balanced, avoiding excessive sweetness. It can be prepared with or without an ice cream machine and uses simple, reliable techniques. The ingredients are easy to find, and the results are consistently impressive.
Ingredients
(Tip: You can find the complete list of ingredients and their measurements in the recipe card below.)
Whole milk
Whole milk provides the base for the ice cream, helping dissolve the cocoa and sugar evenly while maintaining a smooth and balanced consistency.
Heavy cream
Heavy cream adds richness and body, creating the luxurious mouthfeel expected from a classic chocolate ice cream.
Granulated sugar
Sugar sweetens the mixture and plays a key role in texture by lowering the freezing point, keeping the ice cream scoopable.
Unsweetened cocoa powder
Cocoa powder delivers concentrated chocolate flavor. A good-quality cocoa ensures depth without bitterness.
Dark chocolate
Dark chocolate enhances the intensity of the chocolate flavor and contributes to a smoother, more refined texture.
Egg yolks
Egg yolks form the custard base, adding richness and stability while ensuring a velvety finish.
Vanilla extract
Vanilla rounds out the chocolate flavor and adds warmth without overpowering it.
Salt
A small amount of salt balances sweetness and sharpens the overall chocolate taste.
Directions
Begin by heating the milk and cream together in a saucepan over medium heat. Whisk in the cocoa powder and half of the sugar until fully dissolved and smooth. Add the chopped dark chocolate and stir until melted, then remove from the heat.
In a separate bowl, whisk the egg yolks with the remaining sugar until pale and slightly thickened. Slowly pour the warm chocolate mixture into the egg yolks while whisking constantly to prevent curdling. Return the mixture to the saucepan and cook gently over low heat, stirring continuously, until the custard thickens enough to coat the back of a spoon.
Remove from the heat and stir in the vanilla extract and salt. Strain the custard into a clean bowl to ensure a smooth texture. Allow it to cool completely, then refrigerate for at least four hours or overnight. Churn in an ice cream machine according to the manufacturer’s instructions, then freeze until firm.
Equipment needed
Must-Have Tools to Get Rolling
Here’s what you’ll want to have on hand:
Silicone Spatula – Durable, heat-resistant silicone spatula perfect for mixing, scraping, and spreading. Gentle on non-stick cookware and easy to clean.
Large pot – You’ll need this to boil the whole cabbage head and soften the leaves.
large bowl –Spacious, durable large bowl ideal for mixing, serving, or food preparation. Made from sturdy material and easy to clean.
Sharp knife – For coring the cabbage and slicing out the thick stem in each leaf. A paring knife works best.
Mixing bowl – A big bowl makes it easier to combine your meat and rice filling evenly.
Cutting board – For prepping cabbage leaves and rolling them like a pro.
Full-Size Blender – is a powerful kitchen appliance for making smoothies, soups, and sauces in large batches.
3-in-1 Air Fryer – This versatile 3-in-1 air fryer offers Air Fry for healthier meals with less oil, Bake for bakery-quality desserts and treats, and Reheat to bring leftovers back to life with crispy, flavorful results
Servings and timing
This recipe yields approximately six servings. Preparation time is about 20 minutes, cooking time is 15 minutes, chilling time is four hours, and freezing time is two to three hours.
Storage/reheating
Store the ice cream in an airtight container in the freezer for up to two weeks. Placing parchment paper directly on the surface helps prevent ice crystals. Allow the ice cream to soften at room temperature for a few minutes before serving.
Variations and Customizations
For a dairy-free option, substitute full-fat coconut milk for both the milk and cream. This produces a slightly lighter texture with a subtle coconut note. You can add chocolate chips or chunks during the final stage of churning for added texture. For a mocha version, dissolve a teaspoon of instant espresso powder into the warm milk mixture. If a sweeter profile is preferred, milk chocolate can replace dark chocolate, though the flavor will be less intense. I once added a swirl of peanut butter after churning, and it complemented the chocolate beautifully.
Nutrition and Dietary Info
Chocolate ice cream provides calcium from dairy and antioxidants from cocoa. While it is an indulgent dessert, using high-quality ingredients allows for a cleaner flavor without unnecessary additives. Enjoyed in moderation, it can be part of a balanced diet.
Expert Tips & Customizations
Perfect Custard Texture
Cook the custard slowly and avoid boiling to prevent curdling.
Deeper Chocolate Flavor
Use Dutch-processed cocoa for a smoother and richer taste.
Creamier Scoop
Always chill the base thoroughly before churning.
FAQs
Can I make this without an ice cream machine?
Yes, freeze the mixture in a container and stir every 30 minutes until set.
What type of cocoa powder works best?
Unsweetened or Dutch-processed cocoa is ideal.
Can I reduce the sugar?
A small reduction is possible, but texture may be affected.
How long does homemade ice cream last?
It is best enjoyed within two weeks.
Can I use only milk chocolate?
Yes, but the flavor will be sweeter and less intense.
Why should I strain the custard?
Straining ensures a perfectly smooth texture.
Can I add alcohol?
A small amount can be added to soften the texture.
Is this recipe gluten-free?
Yes, all ingredients are naturally gluten-free.
Can I use low-fat milk?
Low-fat milk will result in a less creamy texture.
Why is my ice cream icy?
Insufficient fat or sugar can cause iciness.
Conclusion
This homemade chocolate ice cream recipe delivers a classic flavor with a rich, creamy texture that is hard to beat. It is reliable, customizable, and perfect for both special occasions and everyday treats. Once you try it, store-bought versions may no longer satisfy.
Hungry for more? Visit our website for full recipes and follow us on Pinterest for daily foodie inspo you’ll love to pin!