Introduction
When you want a quick dessert without complicated steps or a long ingredient list, this Lazy 3-Ingredient Oreo Dessert is the perfect solution. With only three simple ingredients, you can create a creamy, cookies-and-cream style dessert that tastes surprisingly indulgent. It is one of those recipes that proves delicious desserts do not always require hours in the kitchen.
I first tried this recipe when I needed a last-minute dessert for guests. With a package of Oreos already in the pantry and a couple of basic ingredients in the refrigerator, the dessert came together in minutes. After chilling for a few hours, the layers softened and transformed into a rich, creamy treat with that classic cookies-and-cream flavor.
This dessert is also ideal for beginner cooks because there is no baking involved and the preparation is incredibly simple. Whether you are making it for a family gathering, a potluck, or just a quick sweet craving, this Oreo dessert is guaranteed to be a hit.
Lazy 3-Ingredient Oreo Dessert – The Easiest No-Bake Cookies & Cream Treat
- Total Time: 2 hours 10 minutes
- Yield: 8 servings
- Diet: Vegetarian
Description
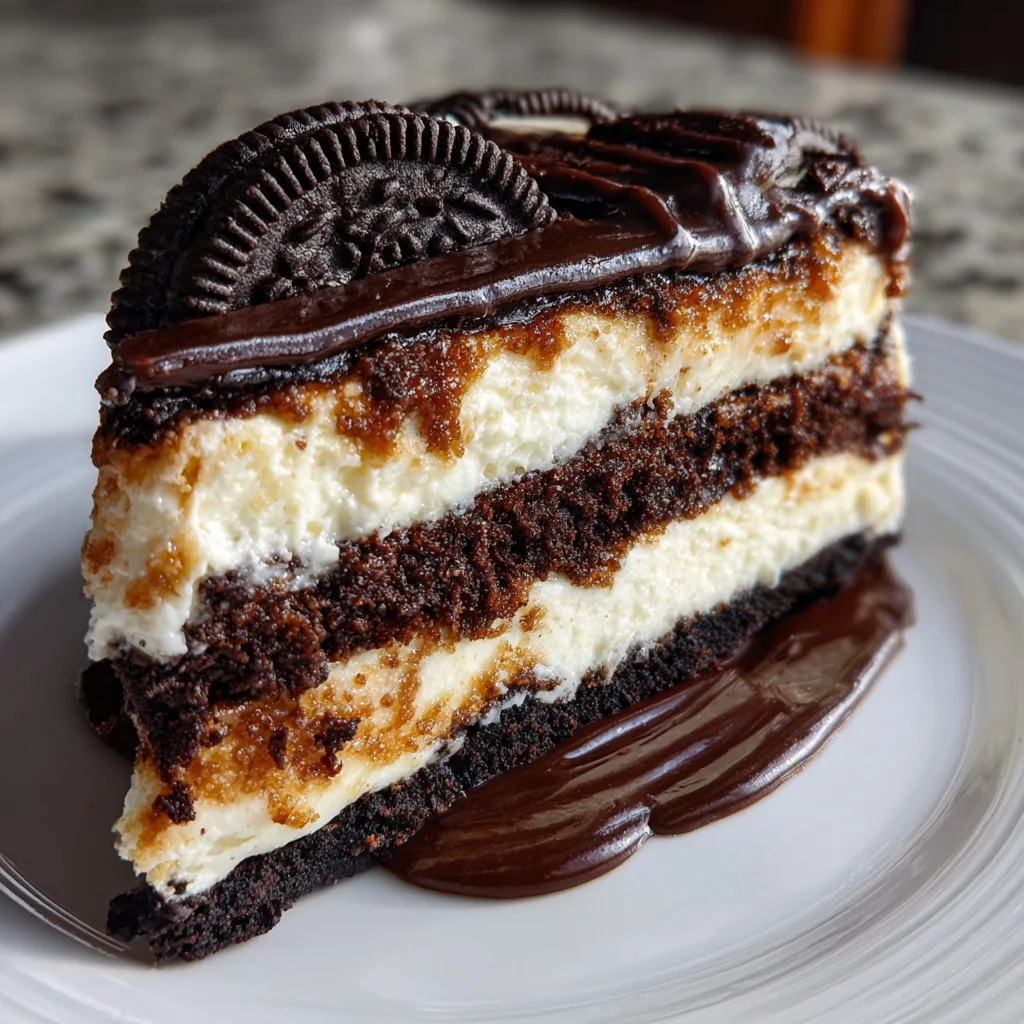
Lazy 3 Ingredient Oreo Dessert is a quick no-bake treat made with crushed Oreo cookies, whipped topping, and sweetened condensed milk for a creamy, chocolatey layered dessert.
Ingredients
- 24 Oreo cookies, crushed
- 1 can (14 oz / 400 g) sweetened condensed milk
- 2 cups whipped topping
Instructions
- Crush the Oreo cookies into small chunks using a food processor or by placing them in a sealed bag and crushing with a rolling pin.
- In a large bowl combine the crushed Oreos with the sweetened condensed milk.
- Fold in the whipped topping gently until the mixture becomes creamy and evenly combined.
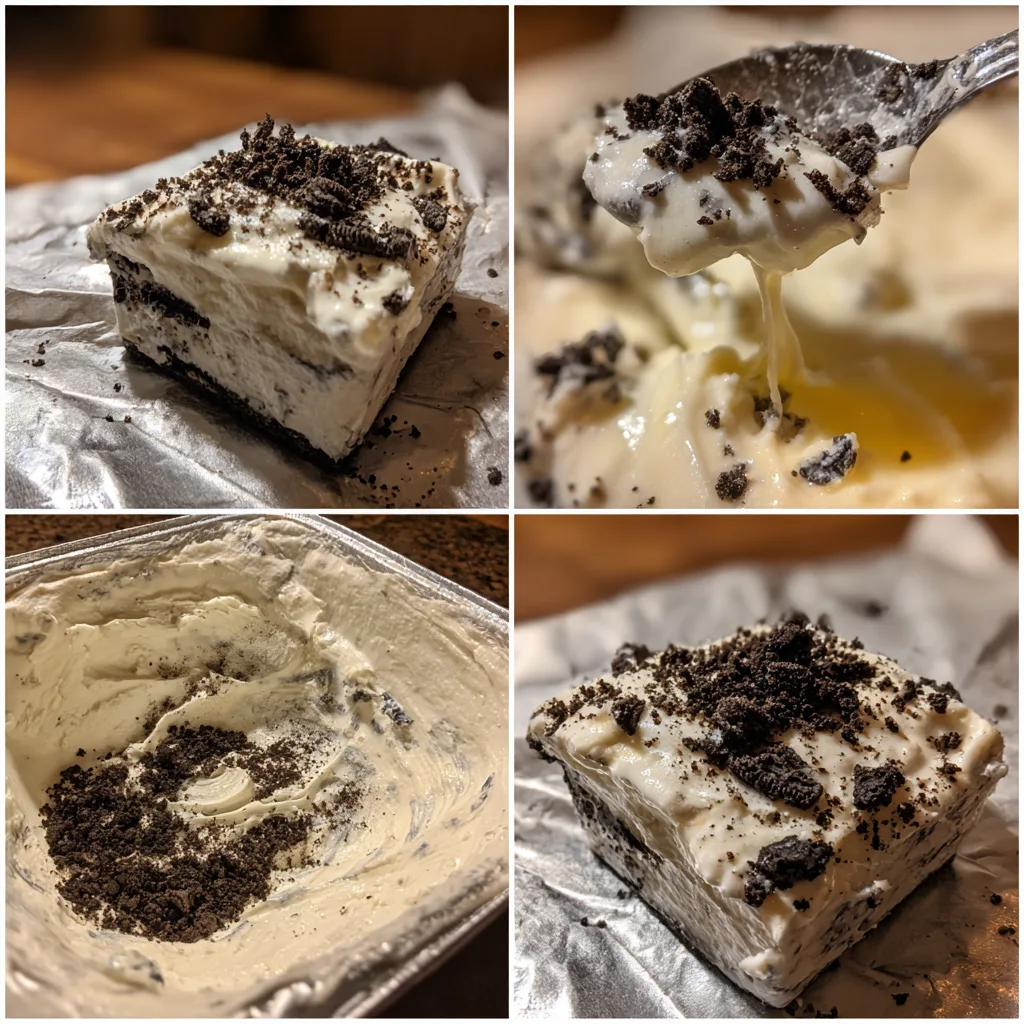
- Spread the mixture into a serving dish or small dessert cups.
- Refrigerate for at least 2 hours to allow the dessert to firm up.
- Serve chilled.
Notes
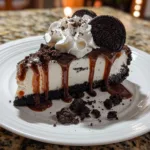
- Top with extra crushed Oreos or chocolate syrup for added flavor.
- You can freeze the dessert for 30–45 minutes for a firmer texture.
- Mini dessert cups work great for individual servings.
- Store leftovers in the refrigerator for up to 3 days.
- Prep Time: 10 minutes
- Cook Time: 0 minutes
- Category: Dessert
- Method: No-Bake
- Cuisine: American
Why You’ll Love This Recipe
This recipe is extremely simple and requires only three ingredients, making it perfect for beginners or quick desserts.
It is also a no-bake recipe, which means you can prepare it quickly without needing an oven.
Another reason this dessert is so popular is the classic cookies-and-cream flavor. Oreos combined with creamy layers create a rich and satisfying texture.
Finally, the dessert is very versatile. It can be served in a dish, layered in cups, or even turned into a frozen dessert depending on how you choose to prepare it.
Ingredients
(Tip: You can find the complete list of ingredients and their measurements in the recipe card below.)
Oreo cookies provide the signature cookies-and-cream flavor for the dessert. When crushed, they create both texture and sweetness throughout the dish.
Sweetened condensed milk adds a rich sweetness and helps bind the crushed cookies into a creamy mixture.
Whipped topping gives the dessert its light, fluffy texture while balancing the richness of the condensed milk and cookies.
Directions
Begin by crushing the Oreo cookies. You can place them in a sealed plastic bag and crush them with a rolling pin, or pulse them in a food processor until they form coarse crumbs.
Reserve a small portion of the crushed Oreos for topping later.
In a large mixing bowl, combine the remaining crushed Oreos with the sweetened condensed milk. Stir until the cookies are evenly coated and the mixture begins to come together.
Fold the whipped topping into the Oreo mixture. Gently stir until everything is evenly combined and the mixture becomes light and creamy.
Transfer the dessert mixture into a serving dish or small dessert cups.
Sprinkle the reserved crushed Oreos over the top for decoration and extra crunch.
Cover the dessert and refrigerate for at least 2 hours so the mixture can firm up slightly and the flavors can blend together.
Serve chilled.
Equipment needed : Must-Have Tools to Get Rolling
Here’s what you’ll want to have on hand:
Silicone Spatula – Durable, heat-resistant silicone spatula perfect for mixing, scraping, and spreading. Gentle on non-stick cookware and easy to clean.
Large pot – You’ll need this to boil the whole cabbage head and soften the leaves.
large bowl –Spacious, durable large bowl ideal for mixing, serving, or food preparation. Made from sturdy material and easy to clean.
Sharp knife – For coring the cabbage and slicing out the thick stem in each leaf. A paring knife works best.
Mixing bowl – A big bowl makes it easier to combine your meat and rice filling evenly.
Cutting board – For prepping cabbage leaves and rolling them like a pro.
Full-Size Blender – is a powerful kitchen appliance for making smoothies, soups, and sauces in large batches.
3-in-1 Air Fryer – This versatile 3-in-1 air fryer offers Air Fry for healthier meals with less oil, Bake for bakery-quality desserts and treats, and Reheat to bring leftovers back to life with crispy, flavorful results
Servings and timing
This recipe typically makes about 6 servings depending on portion size.
Preparation takes about 10 minutes since most of the work involves crushing cookies and mixing the ingredients.
The dessert should chill in the refrigerator for at least 2 hours before serving to allow the texture to set.
Overall, the recipe can be ready to enjoy in approximately 2 hours and 10 minutes.
Storage/reheating
This Oreo dessert should be stored in the refrigerator in an airtight container.
It will remain fresh for up to three days when properly stored.
Because this is a chilled dessert, reheating is not necessary. Simply remove it from the refrigerator and serve cold.
If you would like to freeze the dessert, place it in a freezer-safe container and freeze for up to one month. When frozen, the dessert develops a texture similar to ice cream.
To serve after freezing, allow it to sit at room temperature for about 10 minutes before scooping.
Variations and Customizations
Although this recipe is intentionally simple, it can easily be customized in several ways.
For a richer dessert, you can add a layer of chocolate pudding between the Oreo mixture and whipped topping. This creates a more layered cookies-and-cream dessert.
Another option is mixing in mini chocolate chips or chopped chocolate for extra texture and sweetness.
If you enjoy peanut butter and chocolate together, you can drizzle melted peanut butter over the top before serving.
You can also create individual servings by layering the mixture in small dessert cups or jars. This works well for parties and makes the dessert look more decorative.
For a frozen version, simply place the dessert in the freezer after mixing the ingredients. It becomes a creamy frozen cookies-and-cream treat similar to ice cream.
Different Oreo flavors can also create fun variations. Golden Oreos, mint Oreos, or peanut butter Oreos can completely change the flavor while keeping the recipe just as easy.
Because the base recipe is so simple, it provides a perfect starting point for experimenting with different toppings and textures.
Nutrition and Dietary Info
| Nutrient | Amount per Serving |
|---|---|
| Calories | 360 |
| Protein | 5 g |
| Carbohydrates | 45 g |
| Fat | 18 g |
| Saturated Fat | 9 g |
| Fiber | 1 g |
| Sugar | 30 g |
| Sodium | 260 mg |
Expert Tips & Customizations
Do not crush Oreos too finely
Leaving small cookie pieces creates better texture in the dessert.
Fold whipped topping gently
Gentle mixing helps maintain a light and fluffy consistency.
Chill before serving
Refrigeration helps the dessert set and improves the flavor.
Reserve some cookie crumbs for topping
This adds visual appeal and a slight crunch.
Serve in individual cups for parties
Small dessert cups make the presentation more attractive.
FAQs
Can I make this dessert ahead of time?
Yes, it can be prepared several hours in advance and stored in the refrigerator until ready to serve.
Can I use homemade whipped cream instead of whipped topping?
Yes, homemade whipped cream can be used, though the dessert may have a slightly softer texture.
Can I freeze this Oreo dessert?
Yes, freezing it creates a creamy frozen dessert similar to cookies-and-cream ice cream.
Can I add more ingredients to this recipe?
Yes, chocolate chips, pudding layers, or peanut butter can easily be added for extra flavor.
How long does this dessert last in the refrigerator?
It will stay fresh for up to three days when stored in an airtight container.
Can I use flavored Oreos?
Yes, flavored Oreos such as mint or peanut butter can create different variations of the dessert.
Conclusion
Lazy 3-Ingredient Oreo Dessert is the ultimate quick treat for anyone who loves cookies-and-cream flavors but does not want to spend much time in the kitchen. With only three ingredients and no baking required, it is one of the easiest desserts you can prepare.
Despite its simplicity, the dessert delivers rich flavor, creamy texture, and satisfying sweetness. Whether served chilled or frozen, this Oreo dessert is guaranteed to be a crowd-pleasing favorite.
Hungry for more? Visit our website for full recipes and follow us on Pinterest for daily foodie inspo you’ll love to pin!