Introduction
Mango mousse cake is a refreshing, elegant dessert that perfectly captures the bright, tropical flavor of ripe mangoes in a light and airy form. This cake feels luxurious without being heavy, making it ideal for warm weather, celebrations, or anytime you want a dessert that is both beautiful and satisfying. I started making mango mousse cake when I wanted something fruity instead of rich chocolate or vanilla desserts, and it instantly became a favorite. The smooth mango mousse layer melts in your mouth, while the base provides just enough structure to hold everything together. Whether served at a party or enjoyed as a make-ahead treat, this cake delivers vibrant color, fresh flavor, and a delicate texture that always impresses.
Print
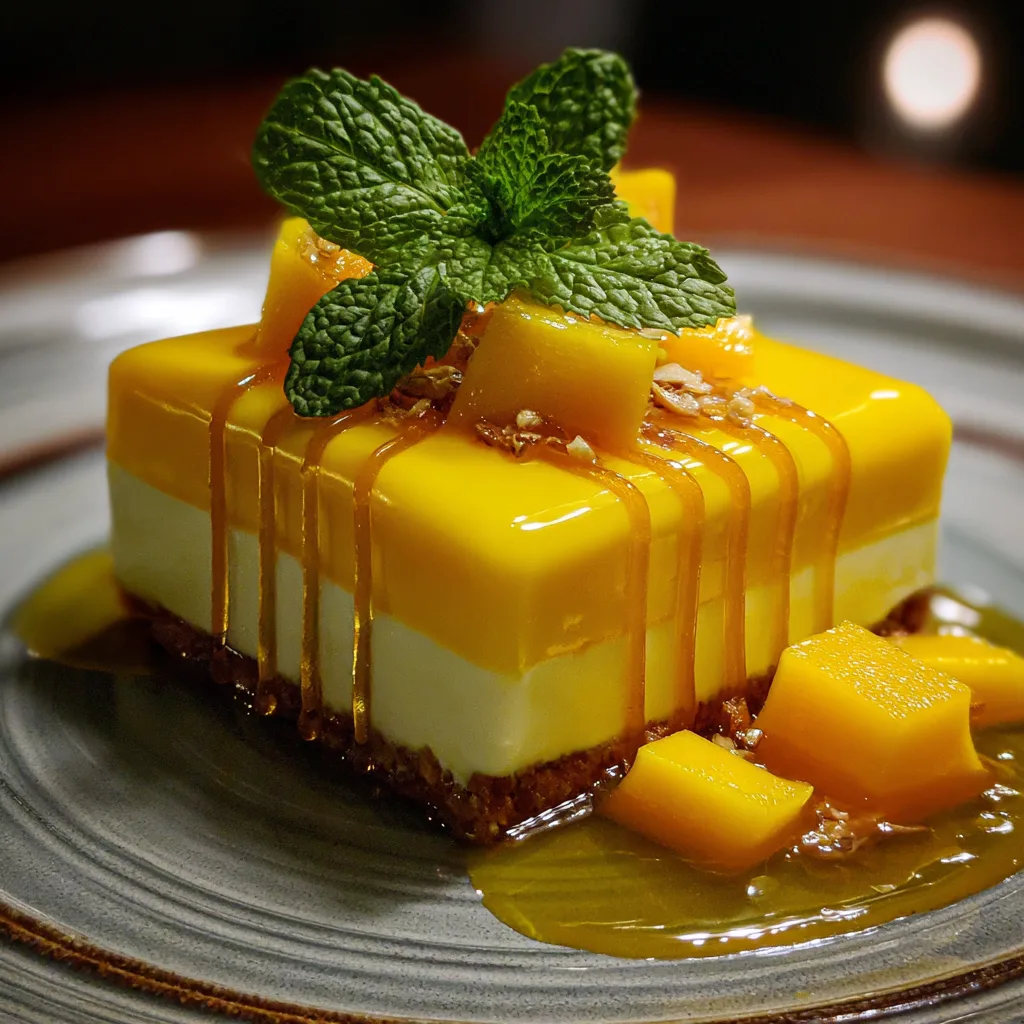
Mango Mousse Cake – Light, Tropical, and Silky Smooth
- Total Time: 45 minutes
- Yield: 8 servings
- Diet: Vegetarian
Description
A light and elegant mango mousse cake with a soft sponge base and a creamy, airy mango mousse layer, finished with a glossy mango topping.
Ingredients
- 1 cup all-purpose flour
- 1/2 cup granulated sugar
- 2 large eggs
- 1/4 cup milk
- 1/4 cup vegetable oil
- 1 tsp baking powder
- 1 tsp vanilla extract
- 1 1/2 cups mango puree (fresh or canned)
- 1/2 cup heavy whipping cream
- 1/4 cup powdered sugar
- 1 tbsp gelatin powder
- 3 tbsp cold water
- 1/2 cup mango chunks (for topping, optional)
Instructions
- Preheat oven to 350°F (175°C) and grease an 8-inch springform pan.
- In a bowl, beat eggs and granulated sugar until pale and fluffy.
- Add milk, oil, and vanilla extract; mix well.
- Whisk in flour and baking powder until smooth.
- Pour batter into pan and bake for 18–22 minutes until set.
- Cool cake completely in the pan.
- Bloom gelatin in cold water for 5 minutes.
- Heat 1/2 cup mango puree slightly and dissolve gelatin into it.
- Whip heavy cream with powdered sugar to soft peaks.
- Fold remaining mango puree into whipped cream.
- Gently fold in gelatin mixture.
- Spread mango mousse evenly over cooled cake.
- Refrigerate for at least 4 hours until set.
- Top with mango chunks before serving if desired.
Notes
- Use ripe mangoes for best flavor.
- Chill overnight for cleaner slices.
- Can be made a day ahead.
- Prep Time: 25 minutes
- Cook Time: 20 minutes
- Category: Dessert
- Method: Baking & No-Bake
- Cuisine: International
Why You’ll Love This Recipe
This dessert is light, creamy, and not overly sweet. The mango flavor is fresh and vibrant, making it perfect after heavier meals. It can be prepared ahead of time and requires no complicated baking techniques. The presentation is elegant, yet the process is approachable and reliable.
Ingredients
(Tip: You can find the complete list of ingredients and their measurements in the recipe card below.)
Fresh mangoes
Fresh mangoes provide natural sweetness, bright color, and the signature tropical flavor of the mousse.
Heavy whipping cream
Heavy whipping cream creates the light, airy texture that defines a good mousse.
Granulated sugar
Granulated sugar sweetens the mousse and balances the natural acidity of the mango.
Gelatin
Gelatin helps the mousse set while maintaining a soft, silky consistency.
Water
Water is used to bloom the gelatin properly.
Vanilla extract
Vanilla extract adds warmth and rounds out the fruit flavor.
Graham cracker crumbs
Graham cracker crumbs form a simple, lightly sweet base that complements the mango.
Butter
Butter binds the crumbs together and gives the base structure.
Lemon juice
Lemon juice enhances the mango flavor and adds brightness.
Directions
Begin by preparing the base. Combine graham cracker crumbs with melted butter and press the mixture firmly into the bottom of a springform pan. Refrigerate to set.
Peel and dice the mangoes, then blend until completely smooth. Heat a small portion of the mango purée gently and stir in the bloomed gelatin until fully dissolved. Combine this mixture with the remaining mango purée, lemon juice, sugar, and vanilla extract.
Whip the heavy cream until soft peaks form. Gently fold the mango mixture into the whipped cream, being careful not to deflate it.
Pour the mousse over the prepared base and smooth the top. Refrigerate for several hours until fully set. Once chilled, release from the pan and slice to serve.
Equipment needed
Must-Have Tools to Get Rolling
Here’s what you’ll want to have on hand:
A springform pan
A blender or food processor
Mixing bowHere’s what you’ll want to have on hand:
Silicone Spatula – Durable, heat-resistant silicone spatula perfect for mixing, scraping, and spreading. Gentle on non-stick cookware and easy to clean.
Large pot – You’ll need this to boil the whole cabbage head and soften the leaves.
large bowl –Spacious, durable large bowl ideal for mixing, serving, or food preparation. Made from sturdy material and easy to clean.
Sharp knife – For coring the cabbage and slicing out the thick stem in each leaf. A paring knife works best.
Mixing bowl – A big bowl makes it easier to combine your meat and rice filling evenly.
Cutting board – For prepping cabbage leaves and rolling them like a pro.
Full-Size Blender – is a powerful kitchen appliance for making smoothies, soups, and sauces in large batches.
3-in-1 Air Fryer – This versatile 3-in-1 air fryer offers Air Fry for healthier meals with less oil, Bake for bakery-quality desserts and treats, and Reheat to bring leftovers back to life with crispy, flavorful resultsls
An electric mixer or whisk
A spatula
Measuring cups and spoons
Servings and timing
This recipe serves approximately 8 to 10 people. Preparation time is about 25 minutes, and chilling time is at least 4 hours.
Storage/reheating
Store mango mousse cake covered in the refrigerator for up to 3 days. This dessert is served cold and should not be reheated. Freezing is not recommended, as it can affect texture.
Variations and Customizations
You can substitute digestive biscuits or vanilla cookies for the base. Adding a thin mango jelly layer on top creates a stunning visual finish. I have also made this cake with coconut cream folded into the mousse, which added a subtle tropical depth that paired beautifully with the mango.
Nutrition and Dietary Info
Mango mousse cake is lighter than traditional baked cakes and relies on fruit and cream for its richness. It contains dairy and gelatin and is best enjoyed in moderate portions. Using less sugar allows the mango flavor to shine naturally.
Expert Tips & Customizations
Use Ripe Mangoes
Ripe mangoes ensure maximum sweetness and flavor.
Fold Gently
Gentle folding keeps the mousse light and airy.
Chill Completely
Proper chilling ensures clean slices and perfect texture.
FAQs
Can I use frozen mango?
Yes, thaw completely and drain excess liquid before blending.
Is this cake baked?
No, this is a no-bake dessert.
Can I make this ahead of time?
Yes, it is ideal for preparing a day in advance.
Why is my mousse not setting?
The gelatin may not have been fully dissolved or measured correctly.
Can I make it dairy-free?
Yes, use coconut cream instead of dairy cream.
Is this dessert very sweet?
No, it is lightly sweet with a fresh fruit focus.
Can I add a topping?
Yes, fresh mango slices or whipped cream work well.
How do I get clean slices?
Use a warm knife and wipe between cuts.
Can I use agar instead of gelatin?
Yes, but ratios and method will differ.
What pan size works best?
A standard springform pan works best.
Conclusion
Mango mousse cake is a light, elegant dessert that delivers tropical flavor in a smooth, creamy form. With its vibrant color, refreshing taste, and make-ahead convenience, it is a perfect choice for celebrations, summer gatherings, or anytime you want a dessert that feels special without being heavy.
Hungry for more? Visit our website for full recipes and follow us on Pinterest for daily foodie inspo you’ll love to pin!