Why You’ll Love This Recipe
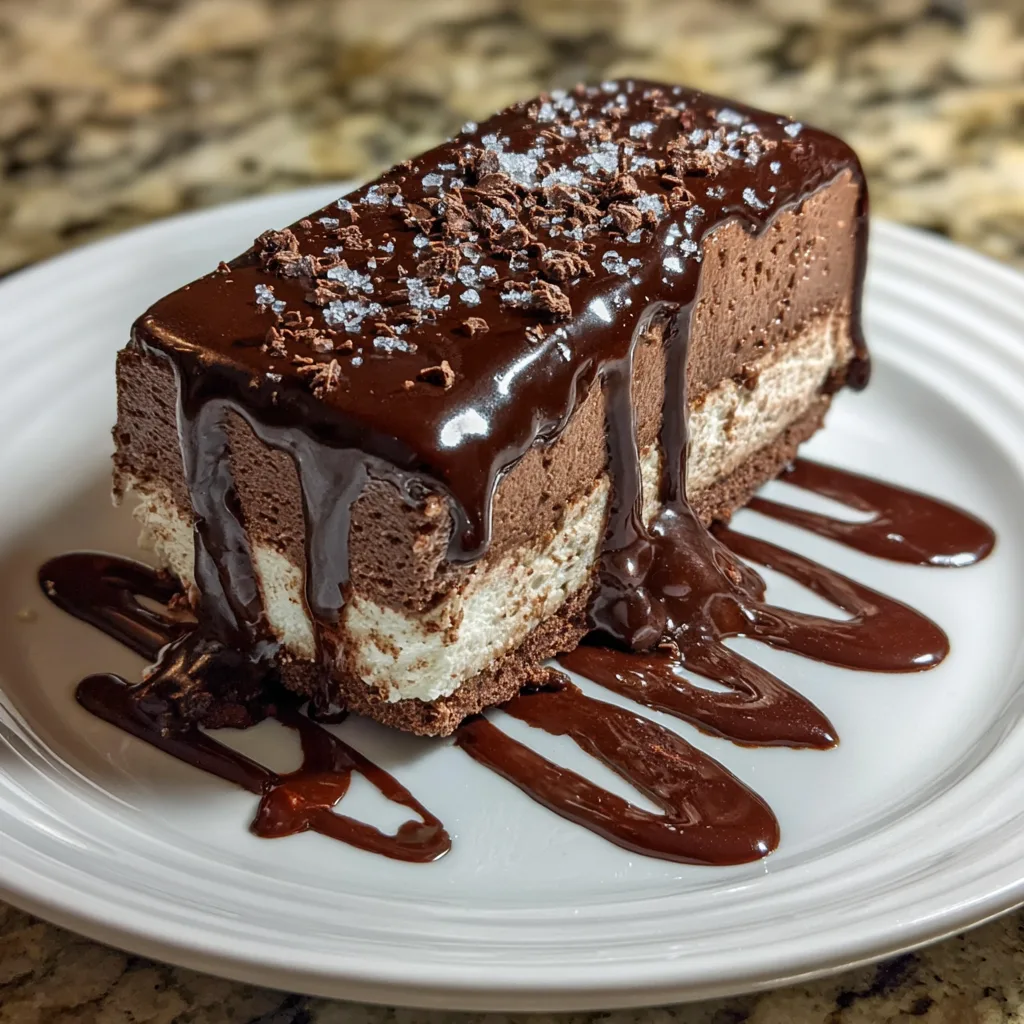
If you’re a fan of coffee-flavored desserts, these Frozen Mocha Cream Bars are about to become your new obsession. They combine the bold richness of coffee with smooth chocolate and a creamy, frozen texture that melts perfectly in every bite. It’s like enjoying your favorite iced mocha in dessert form, but even more indulgent.
I first made these during a hot afternoon when I wanted something refreshing but still satisfying. Instead of reaching for a drink, I turned those flavors into a frozen treat—and the result was incredible. The balance of creamy layers and deep mocha flavor creates a dessert that feels both luxurious and refreshing.
What makes this recipe even better is how simple it is. No baking required, minimal prep, and a result that looks and tastes like it came from a high-end café. Perfect for summer days or whenever you need a cool, coffee-infused treat.
Frozen Mocha Cream Bars (Coffee Dessert Trend)
- Total Time: 4 hours 20 minutes
- Yield: 8 bars
- Diet: Vegetarian
Description
Creamy frozen mocha bars combining rich chocolate and bold coffee flavors in a smooth, indulgent dessert—perfect for a trendy, refreshing treat.
Ingredients
- 1 1/2 cups crushed chocolate cookies
- 4 tablespoons melted butter
- 1 cup heavy cream
- 1/2 cup sweetened condensed milk
- 2 tablespoons instant coffee or espresso powder
- 1/2 cup melted chocolate
- 1 teaspoon vanilla extract
- 1/4 cup cocoa powder
- Whipped cream (optional for topping)
Instructions
- Line a baking pan with parchment paper.
- Mix crushed cookies with melted butter and press into the base to form a crust.
- In a bowl, whip heavy cream until soft peaks form.
- In another bowl, mix condensed milk, coffee, cocoa powder, vanilla extract, and melted chocolate.
- Fold whipped cream into the mocha mixture until smooth.
- Spread the mixture evenly over the crust.
- Freeze for at least 4 hours or until firm.
- Slice into bars and serve frozen.
- Top with whipped cream if desired.
Notes
- Dissolve coffee in a small amount of warm water for smoother mixing.
- Use high-quality cocoa and chocolate for best flavor.
- Let bars sit for a few minutes before cutting for easier slicing.
- Store in the freezer for up to 1 week.
- Add chocolate chips for extra texture.
- Prep Time: 20 minutes
- Cook Time: 0 minutes
- Category: Dessert
- Method: Frozen
- Cuisine: American
Ingredients
(Tip: You can find the complete list of ingredients and their measurements in the recipe card below.)
Crushed biscuits create a firm base that adds a subtle crunch and balances the creamy layers.
Butter binds the biscuit base together, giving it a rich and slightly firm texture once chilled.
Instant coffee or espresso powder provides the bold mocha flavor that defines this dessert.
Cocoa powder enhances the chocolate depth and complements the coffee perfectly.
Heavy cream forms the main creamy layer, giving the bars a smooth and luxurious texture.
Sweetened condensed milk adds sweetness and helps create a soft, scoopable consistency even when frozen.
Cream cheese adds a slight tang and extra creaminess, balancing the sweetness of the dessert.
Vanilla extract enhances the overall flavor with a warm, aromatic touch.
Chocolate chips or melted chocolate add richness and create bursts of chocolate throughout the bars.
A pinch of salt balances the sweetness and intensifies the mocha flavor.
Directions
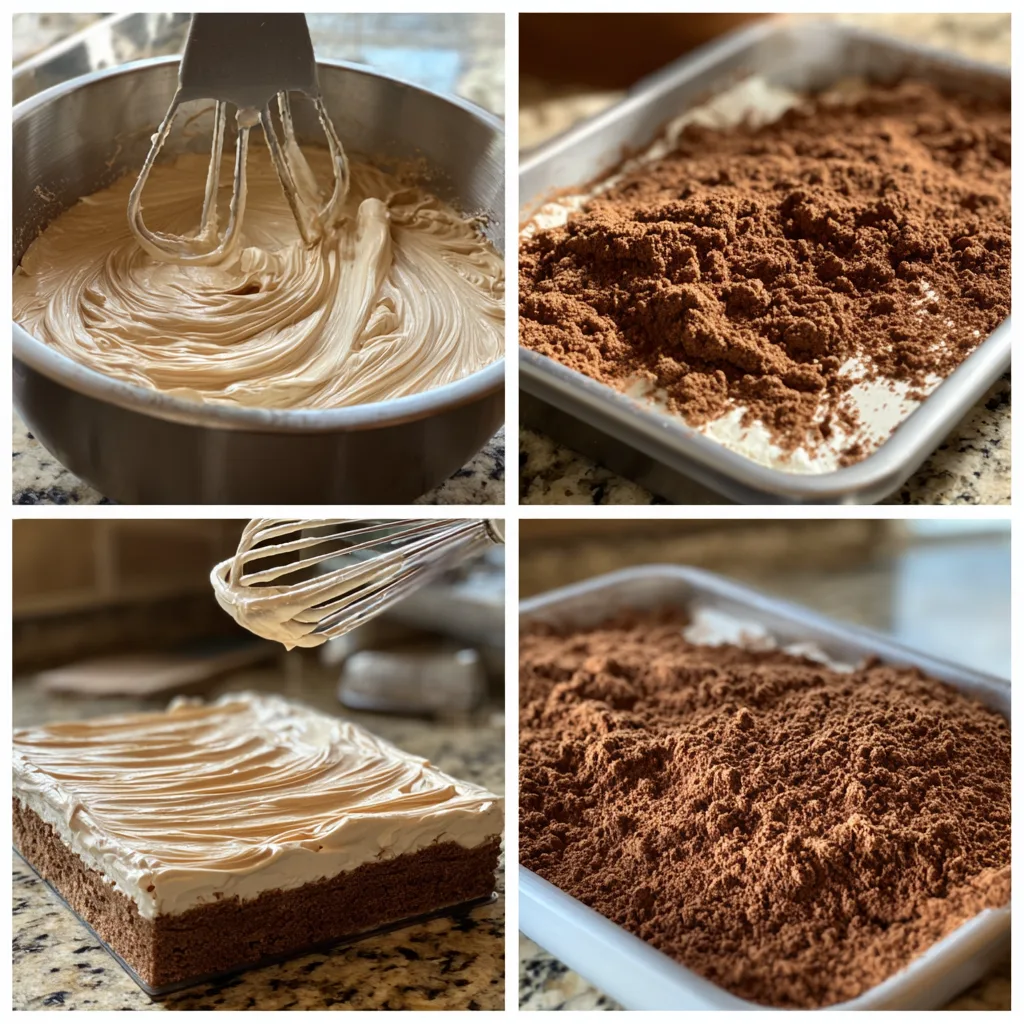
Start by preparing the base. Mix crushed biscuits with melted butter until the texture resembles wet sand. Press the mixture firmly into a lined pan to form an even layer. Place it in the freezer to set while you prepare the filling.
In a bowl, dissolve the instant coffee in a small amount of warm water, then mix it with cocoa powder until smooth.
In a separate bowl, beat the cream cheese until smooth. Add condensed milk, vanilla extract, and the coffee-chocolate mixture, mixing until well combined.
In another bowl, whip the heavy cream until soft peaks form, then gently fold it into the mixture to create a light and airy filling.
Fold in chocolate chips or drizzle melted chocolate for added texture.
Pour the mixture over the chilled biscuit base, smoothing the top evenly.
Freeze for at least 4–5 hours, or until firm.
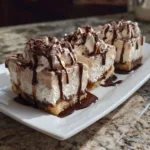
Once set, remove from the pan, slice into bars, and serve slightly softened for the best creamy texture.
Equipment needed : Must-Have Tools to Get Rolling
Here’s what you’ll want to have on hand:
Silicone Spatula – Durable, heat-resistant silicone spatula perfect for mixing, scraping, and spreading. Gentle on non-stick cookware and easy to clean.
Large pot – You’ll need this to boil the whole cabbage head and soften the leaves.
large bowl –Spacious, durable large bowl ideal for mixing, serving, or food preparation. Made from sturdy material and easy to clean.
Sharp knife – For coring the cabbage and slicing out the thick stem in each leaf. A paring knife works best.
Mixing bowl – A big bowl makes it easier to combine your meat and rice filling evenly.
Cutting board – For prepping cabbage leaves and rolling them like a pro.
Full-Size Blender – is a powerful kitchen appliance for making smoothies, soups, and sauces in large batches.
3-in-1 Air Fryer – This versatile 3-in-1 air fryer offers Air Fry for healthier meals with less oil, Bake for bakery-quality desserts and treats, and Reheat to bring leftovers back to life with crispy, flavorful results
Servings and timing
This recipe makes 8 to 10 bars and takes about 20 minutes to prepare, plus 4–5 hours of freezing time.
Storage/reheating
Store the bars in an airtight container in the freezer for up to 2 weeks. Before serving, let them sit at room temperature for a few minutes to soften slightly for the best texture. No reheating is required.
Variations and Customizations
These Frozen Mocha Cream Bars are incredibly versatile and easy to adapt. If you prefer a stronger coffee flavor, simply increase the amount of espresso powder. I once tried doubling it for a more intense taste, and it created a bold, café-style dessert that coffee lovers will appreciate.
For a lighter version, you can use low-fat cream cheese and reduce the amount of condensed milk slightly. The texture remains creamy while being less rich.
If you want to experiment with flavors, try adding a hint of cinnamon or a dash of caramel to the mixture. These additions pair beautifully with the mocha base and create a more complex flavor profile.
For a chocolate lover’s version, use dark chocolate chips or swirl melted chocolate throughout the mixture for a marbled effect.
You can also switch up the base by using chocolate biscuits or even crushed nuts for a gluten-free alternative.
For a dairy-free option, use coconut cream, dairy-free condensed milk, and plant-based cream cheese. The coconut flavor adds a subtle twist that works surprisingly well with coffee.
To elevate presentation, drizzle melted chocolate on top or sprinkle cocoa powder just before serving.
Nutrition and Dietary Info
| Nutrient | Per Serving |
|---|---|
| Calories | 340 kcal |
| Protein | 5 g |
| Carbs | 30 g |
| Fat | 22 g |
| Saturated Fat | 14 g |
| Fiber | 2 g |
| Sugar | 22 g |
| Sodium | 180 mg |
Expert Tips & Customizations
Use Strong Coffee
A concentrated coffee mixture gives the best flavor.
Freeze Properly
Allow enough freezing time for clean slices.
Line the Pan
This makes removing the bars much easier.
Whip Cream Correctly
Soft peaks create a light and airy texture.
Slice with Warm Knife
For clean, professional-looking bars.
FAQs
Can I use brewed coffee instead of instant?
Yes, but make sure it’s strong and reduce other liquids slightly.
How do I prevent the bars from being too hard?
Let them sit at room temperature for a few minutes before serving.
Can I make this without cream cheese?
Yes, but the texture will be slightly less rich.
Can I freeze them longer than 5 hours?
Yes, they can be stored frozen for up to 2 weeks.
What can I use instead of biscuits?
Graham crackers or digestive biscuits work well.
Is this dessert very sweet?
It’s moderately sweet, but you can adjust the sugar to taste.
Conclusion
These Frozen Mocha Cream Bars are the perfect combination of creamy, chocolatey, and coffee-infused goodness. With their no-bake preparation and refreshing frozen texture, they’re ideal for warm days or whenever you’re craving a luxurious dessert. Easy to make and full of bold flavor, they’re sure to become a favorite in your dessert rotation.
Hungry for more? Visit our website for full recipes and follow us on Pinterest for daily foodie inspo you’ll love to pin!